


In this post, you'll learn how to set up a project with Next.js, ChakraUI, and TypeScript.
You can find the final app on Github. If you have any questions, comment or reach out on Twitter 🙂.
Prerequisites:
- Basic Next.js, Typescript, React knowledge.
- How to use a terminal
- Familiarity with npm or yarn
- An IDE (ex: VSCode, Atom, SublimeText, ...)
Let's dive in.
1. Create the Next.js app
Setup:
You need to have Node.js installed: you can install it from here. You also need a terminal to run the commands.
Steps:
- Open your terminal
- Go into the directory where you want to create your app
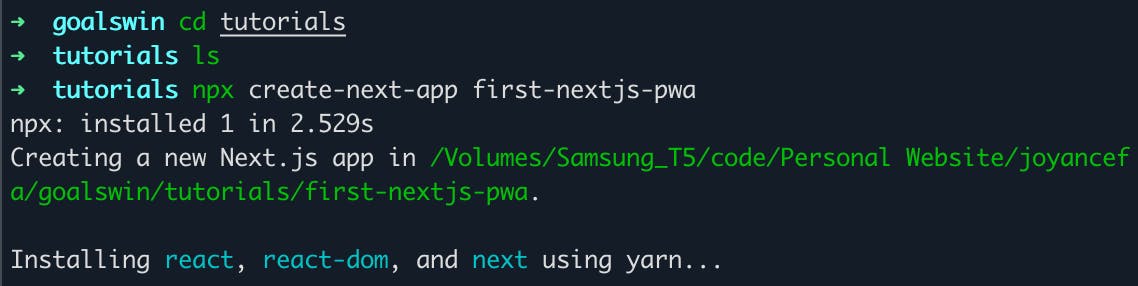
- Run the following command :
npx create-next-app first-nextjs-pwa. This command will create a Next.JS project named first-nextjs-pwa inside the tutorials folder.
- Once the installation finished, navigate to the project using
cd first-nextjs-pwa - Start the development mode by running
yarn dev

If this is successful, open localhost:3000 from your browser, and you should see the app live 🎉.
2. Add Typescript support
Steps:
- Open the project in your favorite IDE (I am using VSCode).
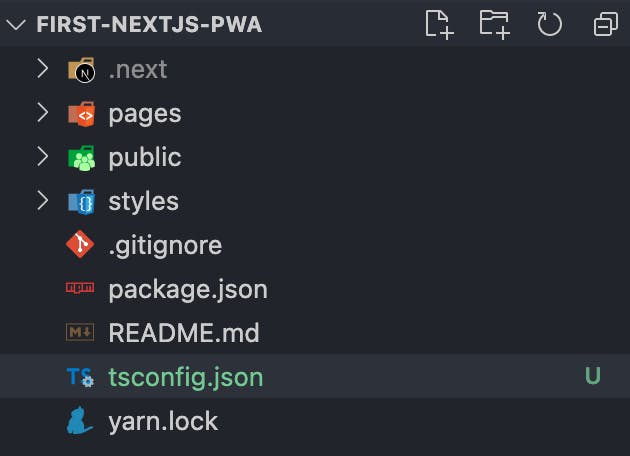
- Create an empty file named
tsconfig.jsonin the root of your project (i.e., the file should be next to theREADME.md,package.json,... files)
- Stop the development server (with CTRL-C)
- Rerun
yarn dev=> you should see the following error :

- Run the following commands to fix it
yarn add --dev typescript @types/react @types/node - Rerun
yarn dev. The development environment should work again, and Next.js will do the following :- Populate the tsconfig.json
- Create the
next-env.d.tsfile, which ensures you can use Next.js types
- Migrate the following
jsfiles intots/tsxfiles (the tsx extension is for files with JSX) :- pages/index.js
- Rename into
pages/index.tsx
- Rename into
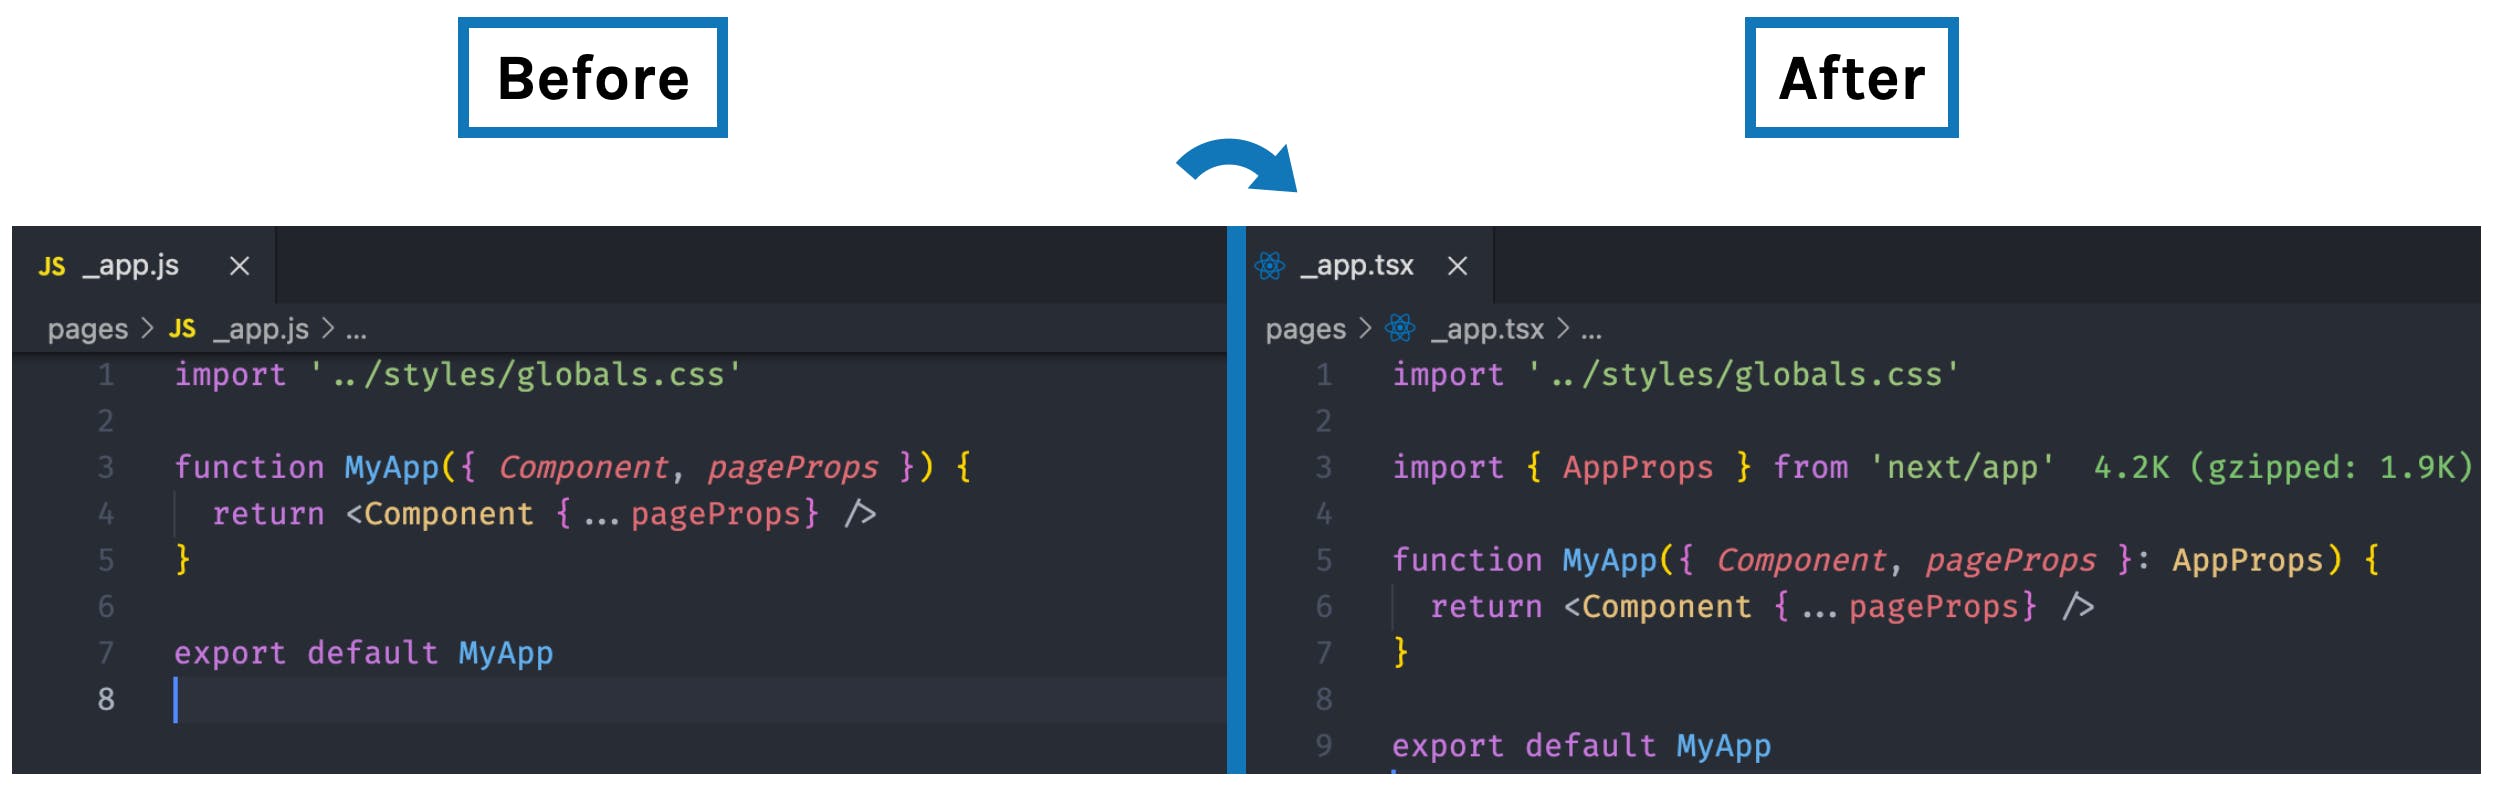
- pages/_app.js
- Rename into
pages/_app.tsx - Use the NextJs type
AppPropsmade available through step 4.
- Rename into
- pages/api/hello.js
- Rename into
hello.ts - Use the NextJs types
NextApiRequest,NextApiResponsealso made available through step 4.
- Rename into
- pages/index.js

That's it: you now have Typescript support in your project 🥳.
PS: After migrating the files, you may get an error with your development server (see on the image below)=> just restart it.

3. Install ChakraUI
Chakra UI is a simple, modular, and accessible UI library for React applications. You can read more about it in the documentation.
These are the steps to install it in your project :
Steps:
Run the following command :
yarn add @chakra-ui/react @emotion/react @emotion/styled framer-motionOpen
pages/_app.tsxand paste this :
import "../styles/globals.css";

import { AppProps } from "next/app";
import { ChakraProvider } from "@chakra-ui/react";

function MyApp({ Component, pageProps }: AppProps) {
  return (
    <ChakraProvider>
      <Component {...pageProps} />
    </ChakraProvider>
  );
}

export default MyApp;
That's it: you should now be able to use Chakra in your app 🥳.
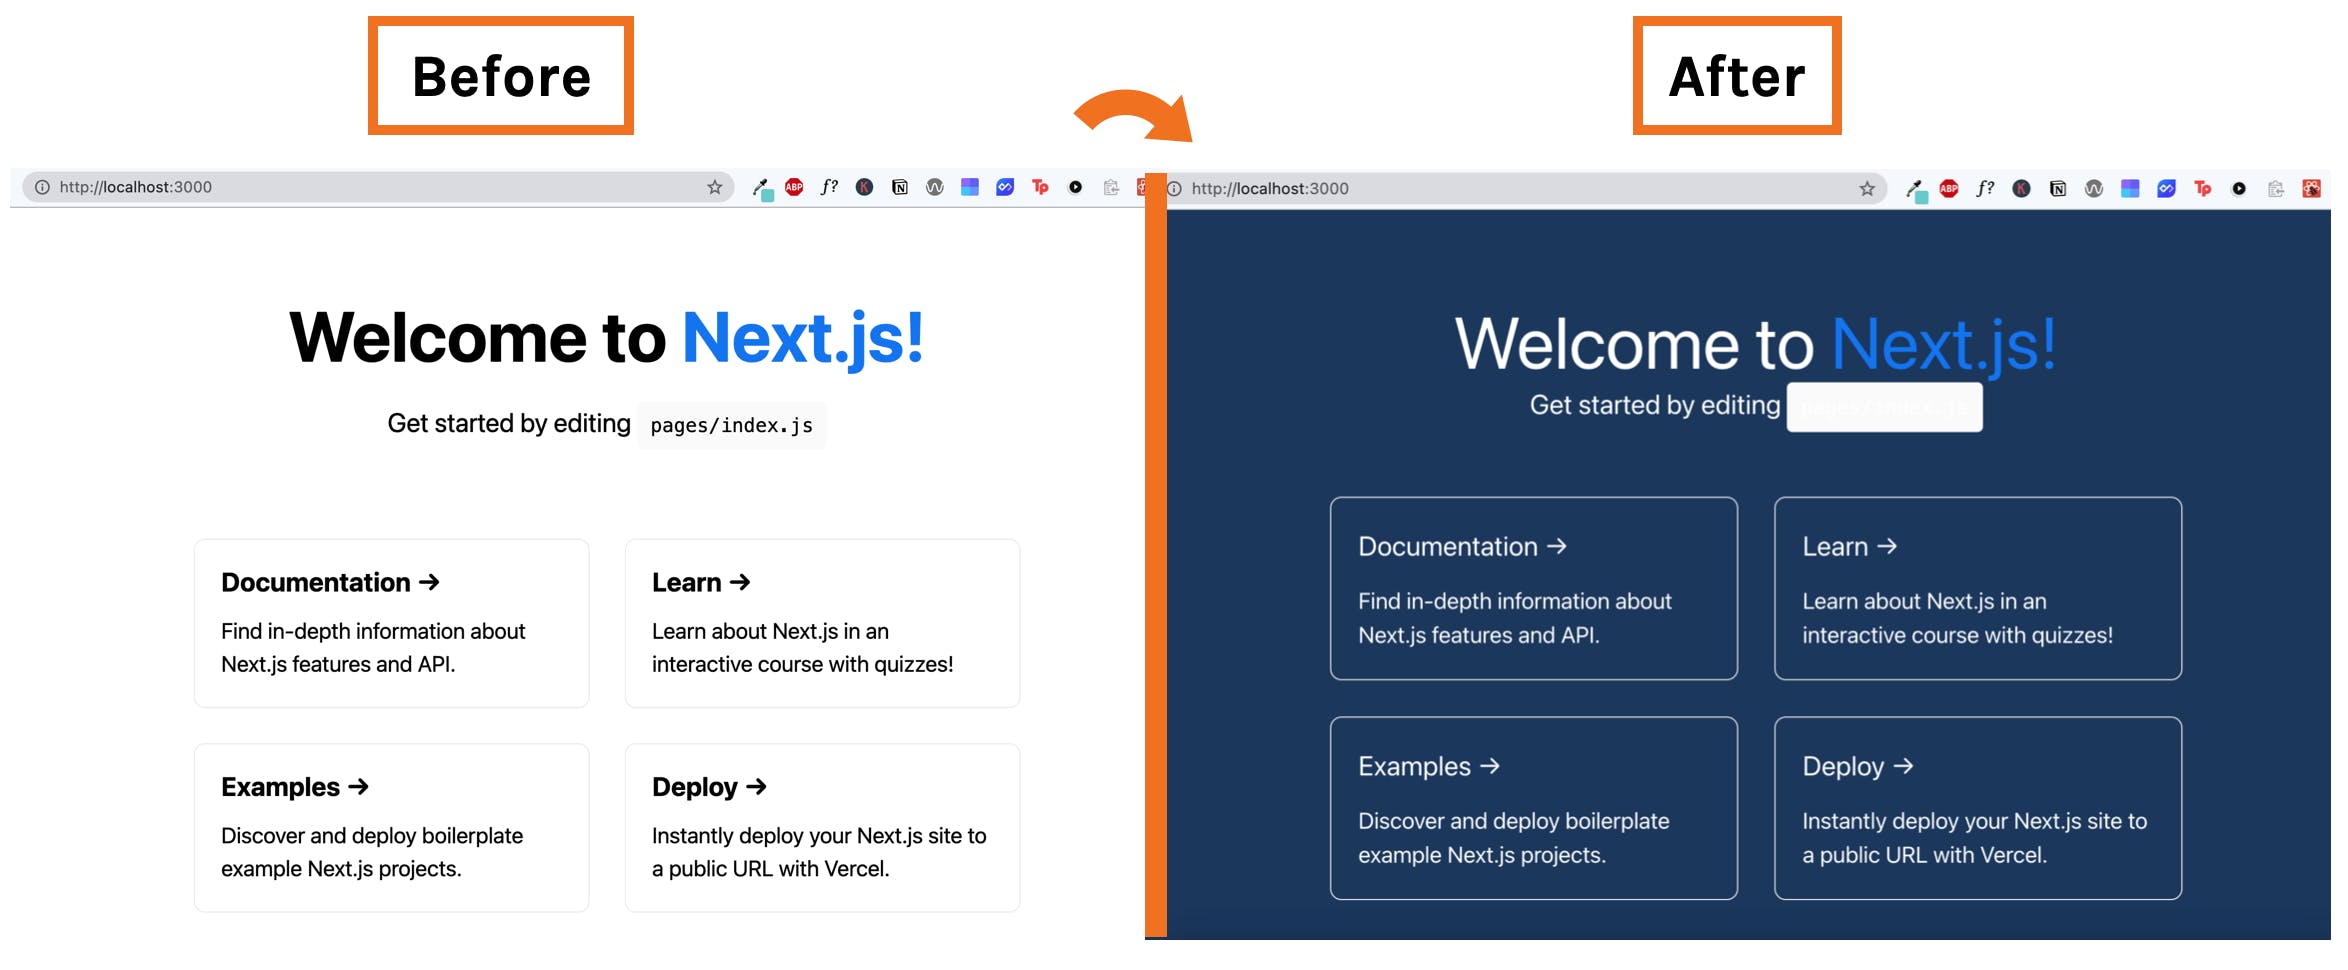
Chakra UI provides a default theme containing color palettes, type scales, font stacks, etc... Let's customize it to make sure our app works well with Chakra.
Customizing the Chakra theme
- Create a file called
theme.tsinside thestyles/folder - Add the following lines :
// This will enable you to extend the theme
import { extendTheme } from '@chakra-ui/react';

// This will apply a `backgroundColor`, font `color` to the html, body elements
// Colors equivalent can be found here => https://chakra-ui.com/docs/theming/theme
const styles = {
    global: {
      "html, body": {
        color: "white",
        backgroundColor: "blue.900",
      },
    },
  };

// Use the style in the theme and return it
const theme = extendTheme({styles});
export default theme;
- Import the theme into the
app.tsxfile and use it in the provider. The file should look like this afterward:
import "../styles/globals.css";

import { AppProps } from "next/app";
import { ChakraProvider } from "@chakra-ui/react";
import theme from "../styles/theme"

function MyApp({ Component, pageProps }: AppProps) {
  return (
    <ChakraProvider theme={theme}>
      <Component {...pageProps} />
    </ChakraProvider>
  );
}

export default MyApp;
You should see the background color changed to blue and the font color changed to white 💪🏾.
PS: If you see an error like Error: ENOENT: no such file or directory... just restart your dev server.
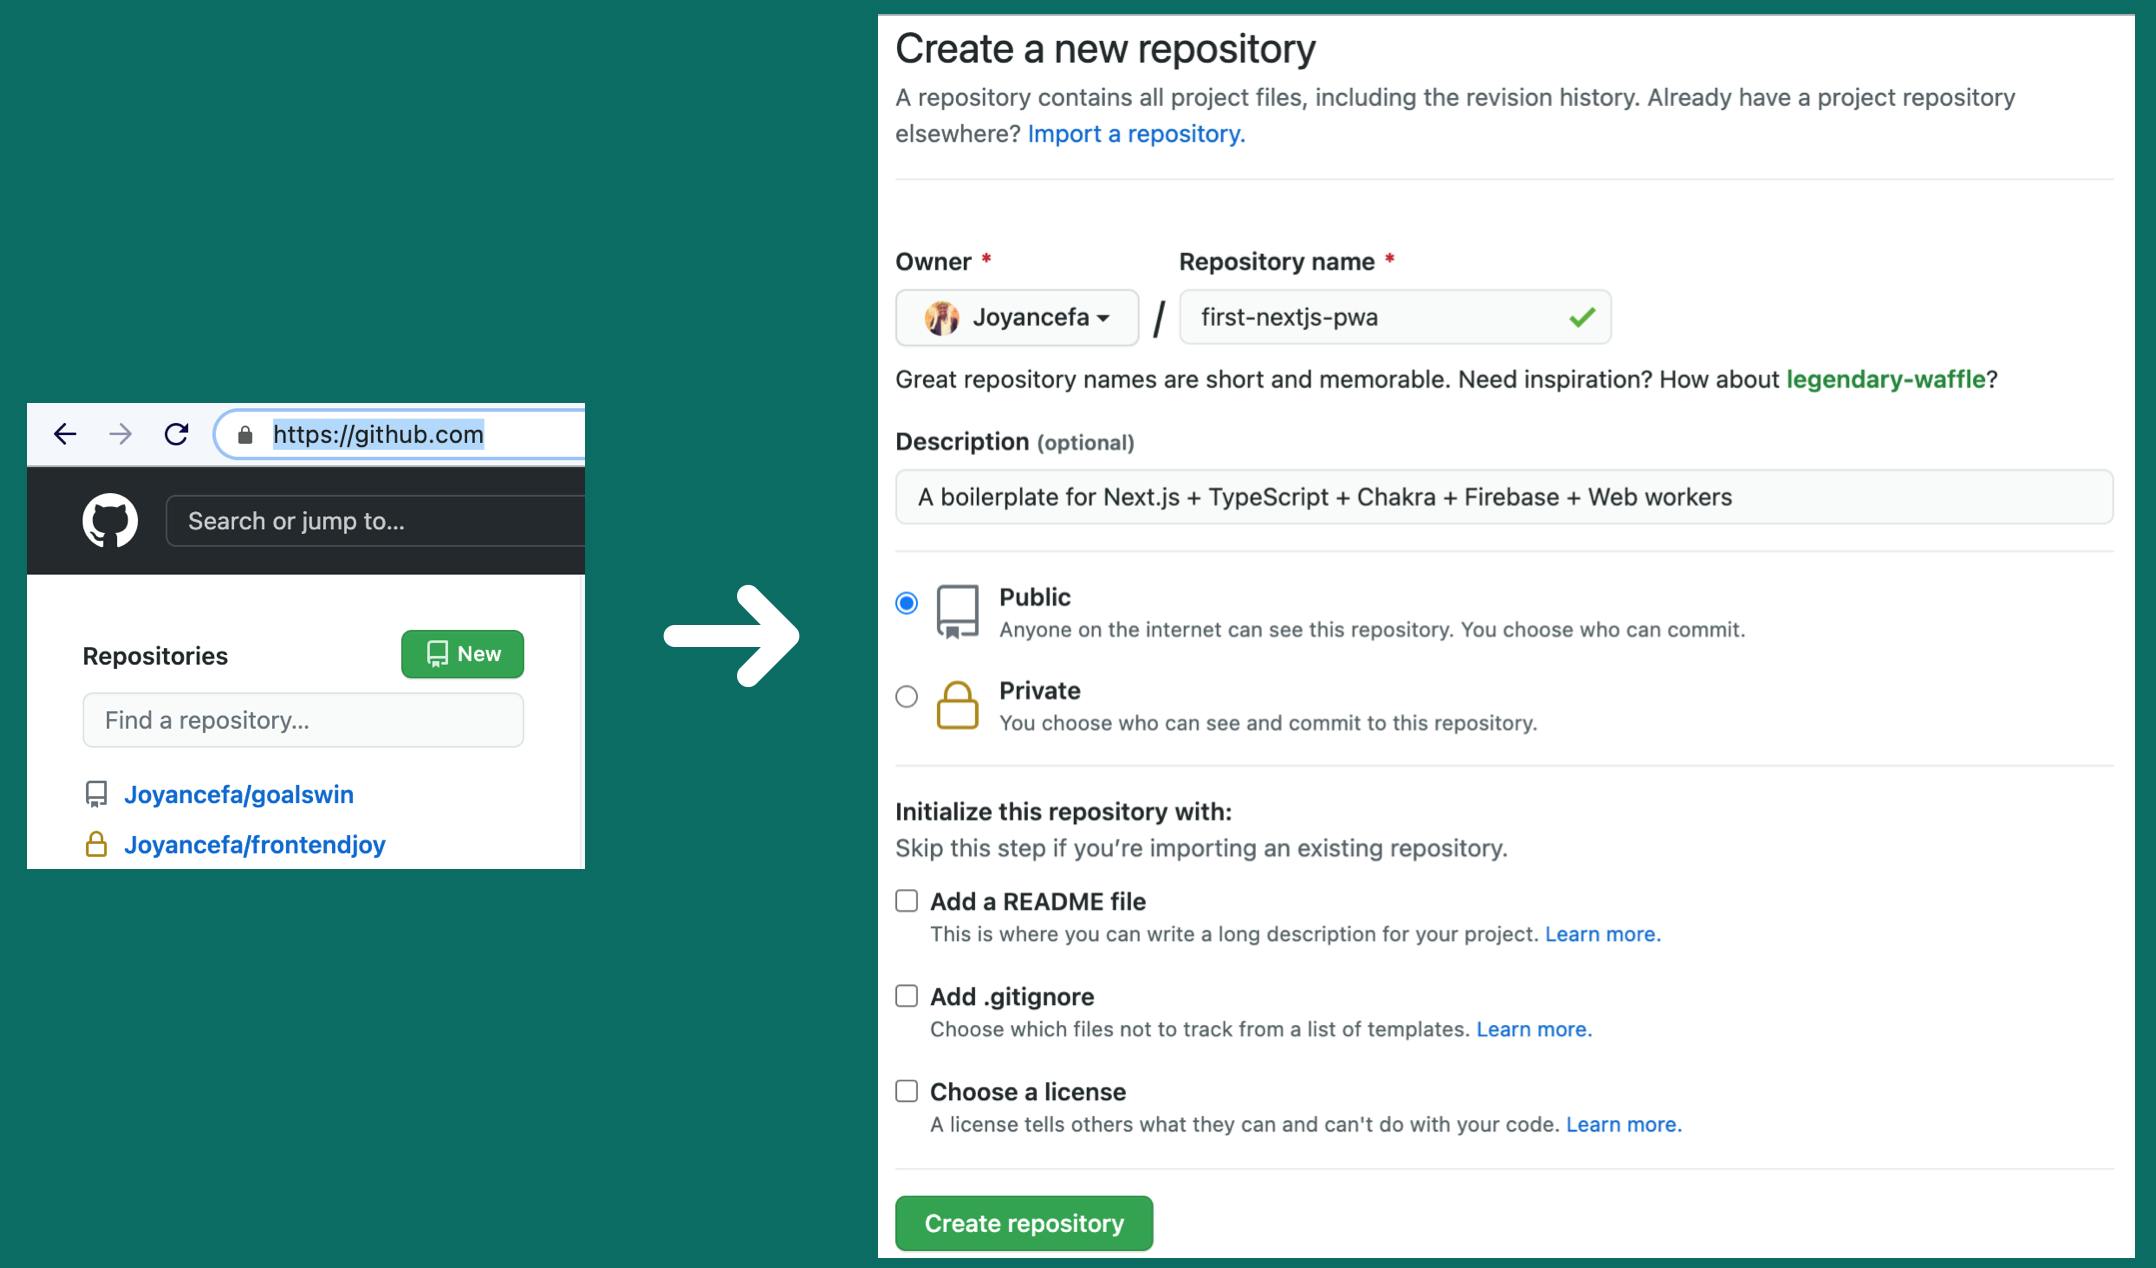
4. (optional) Put the code on Github
Let's put your code on Github so it is shareable and you don't lose your progress.
Steps :
- Go to your Github account (create an account if you don't have one already)
- Create a new repository
- Run the following commands on your terminal inside the nextjs project you created
git add .
git commit -m "first commit"
git remote add origin https://github.com/Joyancefa/first-nextjs-pwa.git
git push -u origin main
Your app should be available on Github 🎉.
Conclusion
Well done 💪🏾 : you now have Typescript and Chakra working with your Next.js project. In my next article, we will learn how to set up VSCode to make development easier.
Find the source code here 👉🏾 github.com/Joyancefa/first-nextjs-pwa